Troubleshooting Iron-On Paper Printing Issues
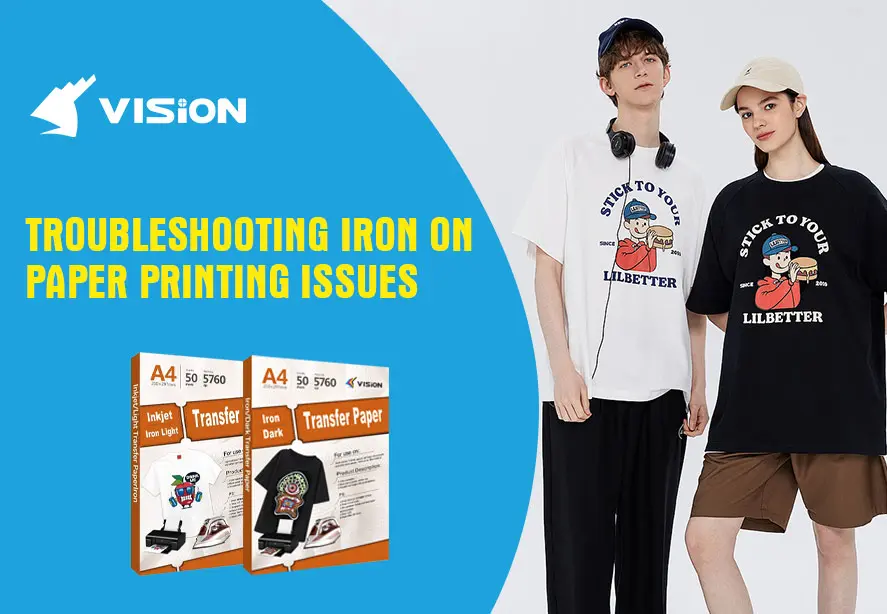
Iron-on paper printing is an essential tool for creating personalized T-shirts, tote bags, and various other fabric-based items. However, it can sometimes feel like a challenge to get it just right. Whether you’re working on custom gifts, business merchandise, or DIY fashion, the last thing you want is an imperfect transfer. In this guide, we will delve into the most common iron-on paper printing issues and provide you with effective troubleshooting steps to ensure your transfers come out flawless every time.
2 Types of Iron-on Papers
There are two main types of iron-on papers:
Iron on transfer paper for light fabric–designed for light-colored fabrics.
Iron on transfer paper for dark fabric–designed for dark or black fabrics.
Using the right type of paper for the fabric you’re working with is crucial for achieving optimal results.
Common Iron-On Paper Printing Issues
Despite the simplicity of the process, various issues can arise during iron-on paper printing. Below, we will address these common challenges and how to fix them.

inkjet printing
Issue 1: Design Doesn’t Fully Transfer
One of the most frustrating problems is when your design doesn’t transfer completely or properly. It may appear faded or incomplete in certain areas.
How to Fix It:
Check the Temperature and Time Settings: Ensure your iron is set to the correct temperature for the type of transfer paper you’re using. Most papers recommend a temperature of around 375°F (190°C). If you’re using a heat press, adjust the settings accordingly.
Use Even Pressure: When applying heat, make sure you are pressing down evenly on the design. Uneven pressure can result in incomplete transfers. If you’re using an iron, press firmly and move it in slow, circular motions.
Preheat the Fabric: Before placing the transfer paper, preheat the fabric for 10-15 seconds to remove any moisture and wrinkles that could interfere with the transfer process.
Check the Paper Orientation: Ensure that the transfer paper is positioned correctly. For dark fabric transfer paper, the printed design should be facing up on the fabric. For light fabric transfer paper, the printed side faces down.

iron press and heat press
Issue 2: Paper Peels Off or Leaves Residue
Another common issue is when the paper comes off too easily or leaves behind a sticky residue on the fabric.
How to Fix It:
Allow the Transfer to Cool: It’s essential to let the transfer cool down before peeling off the paper. If you try to peel it off while it’s still hot, it may not stick properly.
Use the Right Paper for Your Fabric: Ensure that you’re using the appropriate transfer paper for your fabric. Some fabrics, particularly stretch fabrics like spandex, may not bond well with certain transfer papers.
Avoid Overheating: Overheating can cause the adhesive to break down, which can lead to peeling. Follow the manufacturer’s instructions regarding time and temperature.
Clean the Fabric Surface: Ensure your fabric is clean and free of any oils, dirt, or fabric softener residue before applying the transfer. This ensures a better bond.
Issue 3: Faded or Dull Colors After Transfer
If your printed design looks vibrant on the paper but ends up dull or faded after the transfer, this is a common problem that usually has to do with either your printer settings or the type of paper used.
How to Fix It:
Use High-Quality Ink and Paper: Ensure you are using the highest quality ink and paper for printing. Cheap ink or paper can result in poor color transfer. For vibrant colors, opt for premium transfer paper designed for high-quality ink.
Check Your Printer Settings: Adjust your printer settings to match the type of paper you’re using. For best results, set your printer to the highest resolution and print with the appropriate color profile.
Iron or Heat Press with Care: If the colors still appear dull after transferring, it could be due to excessive heat or pressure. Be sure to follow the recommended time and temperature guidelines to prevent this issue.
Issue 4: The Transfer Paper Leaves Wrinkles
Wrinkles on your transferred design can ruin an otherwise perfect print. This can occur if there is insufficient pressure or if the fabric is not smooth.
How to Fix It:
Preheat the Fabric Thoroughly: Before placing the transfer paper, make sure to preheat the fabric for a few seconds to eliminate any wrinkles and moisture.
Use a Teflon Sheet or Parchment Paper: Place a Teflon sheet or parchment paper over the design before applying heat. This protects the transfer paper and ensures a smoother finish.
Ensure Proper Alignment: When applying pressure, ensure the fabric is perfectly aligned and stretched out smoothly under the transfer paper to avoid wrinkles during the transfer process.
Issue 5: Design Shows Signs of Cracking or Peeling Over Time
Even after a perfect transfer, your design may start cracking or peeling after several washes, which can be frustrating.
How to Fix It:
Wash the Fabric Carefully: To preserve the design, always wash the fabric inside out and in cold water. Avoid using bleach or harsh detergents that can break down the adhesive.
Avoid the Dryer: High heat from the dryer can cause the transfer to crack or peel. It’s best to air-dry the garment or use a low heat setting on your dryer.
Use High-Quality Transfer Paper: Always opt for high-quality transfer paper designed for durability. Some brands offer professional-grade transfer paper that ensures longevity.
Issue 6: The Design is Off-Center or Misaligned
Misalignment of the design can make your finished product look unprofessional. This typically happens when the transfer paper is not correctly positioned or if the iron is moved unevenly.
How to Fix It:
Measure and Mark: Before applying the transfer, measure and mark the center of the fabric. This will help you position the transfer paper accurately.
Use a Heat Press: If you’re working with a heat press, ensure that the fabric is aligned correctly on the press. A heat press offers more precise control over temperature, pressure, and time, which can help with accurate design placement.
Avoid Overlapping Layers: Make sure the transfer paper doesn’t overlap with any other layer of fabric, as this can affect the design’s alignment.
Tips for Ensuring Long-Lasting Results
To achieve professional-quality results and ensure that your iron-on designs last for a long time, here are some additional tips:
Choose the Right Fabric: Cotton and cotton-blend fabrics work best for iron-on transfers. Stretch fabrics or heavily textured fabrics may not provide an even surface for the transfer.
Test the Transfer on Scrap Fabric First: Before applying the design to your final product, do a test run on a scrap piece of fabric to ensure your settings are correct.
Proper Storage of Iron-On Paper: Store your iron-on paper in a cool, dry place to prevent it from becoming brittle or damaged.
Whether you’re printing custom T-shirts, bags, or other fabric products, using the right materials, tools, and techniques is the key to success.By following the guidelines above, you can resolve most problems and achieve the perfect transfer every time.
Related:
A Comprehensive Guide to Iron-on Paper for Shirts
The Difference Between Iron-On Transfer Paper and Heat Transfer Paper
The Art of Choosing: Best Iron On Transfer Paper for Your Project
Iron On Transfer Paper for inkjet printers: Custom T-shirts
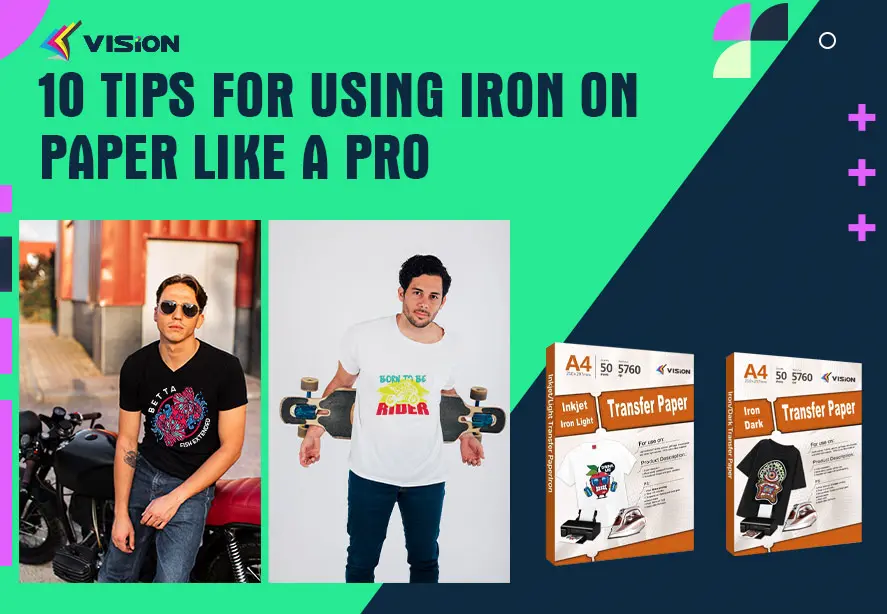
10 Tips for Using Iron On Paper Like a Pro