Blog
How to Make UV DTF Decals?
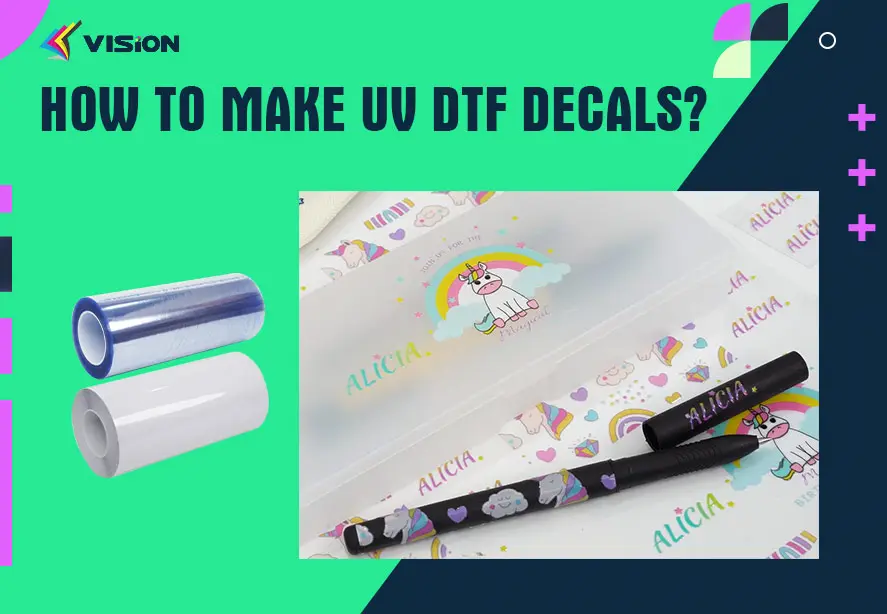
UV DTF (Direct-to-Film) decals are a popular and effective way to create durable, high-quality designs for various hard surfaces. The process involves printing designs onto a special transfer film, curing them with UV light, and then applying the decal to the desired surface.
How to Make UV DTF Decals Step-by-Step Process
Materials Needed
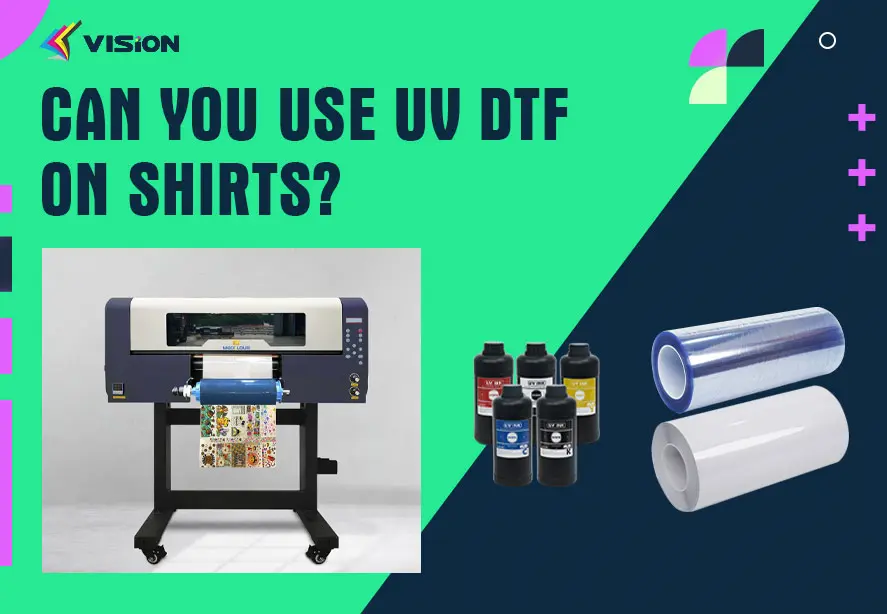
UV DTF Printer: A printer designed for printing UV ink onto film.
Special UV DTF Film used for UV DTF printing.
UV curing Ink: UV-curable ink suitable for printing on the UV DTF film.
Application Surface: The item or material where the decal will be applied (e.g., mugs, acrylics).
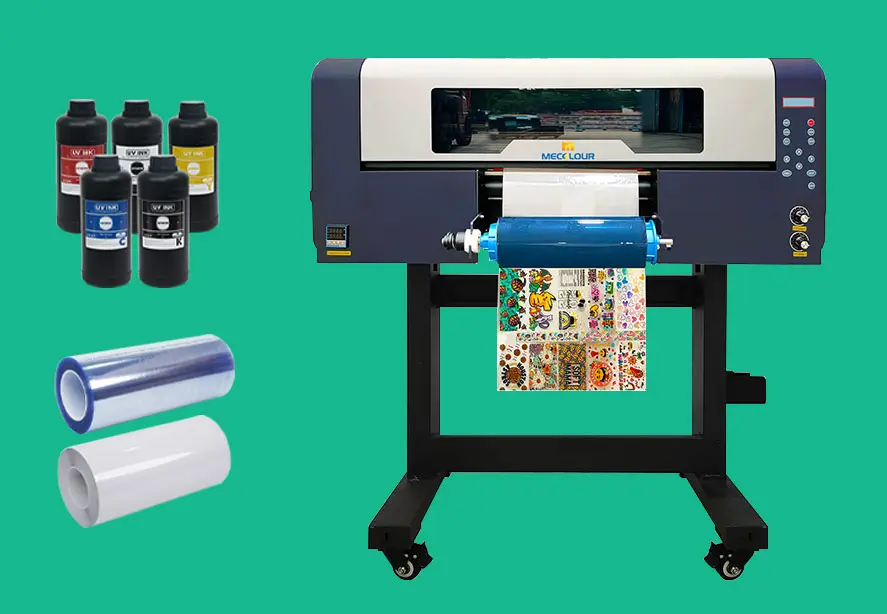
uv dtf Materials Needed
Step 1: Create or Prepare Your Design
Start by preparing the design you want to print on your decal. You can create a custom design using graphic software such as Adobe Illustrator, CorelDRAW, or any design software that supports high-resolution images.
Design tips:
Make sure your design is in CMYK color mode for accurate color reproduction.
Keep the design in a transparent PNG or vector format to ensure the background is removed when printed.
Choose high-quality resolution (at least 300 dpi) for crisp, detailed prints.
Step 2: Print UV Ink on UV DTF Film
The first step in creating a UV DTF decal is to print your design onto the UV DTF film. To ensure the highest quality results, follow these printing instructions:
Print White Ink First: Begin by printing a layer of white ink on the film. This white layer acts as a backing, helping to enhance the visibility and vibrancy of the other colors in your design.
Apply CMYK or Varnish: After the white ink layer is dry, print your design using CMYK inks (Cyan, Magenta, Yellow, and Key/Black) to add color and detail to the decal. Alternatively, you can use varnish to give your design a glossy or matte finish, depending on your preference.
This multi-layered printing ensures that your design will stand out with rich, vivid colors and a professional appearance.
Step 3: Cut the Image
After you print your design onto the UV DTF film, cut it to your desired shape.
Cut the Design: Use a cutting machine or a pair of scissors to carefully cut around your design. This ensures that only the graphic you want will be transferred onto the surface, leaving behind minimal excess film.
Step 4: Stick the Image on the Surface
Now that your design is ready, it’s time to apply the decal to the surface you want to decorate.
Position the Design: Place the printed and cut design carefully onto the surface you wish to apply it to. This could be a T-shirt, mug, wooden plaque, or any other material compatible with UV DTF decals.
Press Gently: Use your fingers or a soft tool to gently press the image onto the surface, ensuring there are no air bubbles trapped beneath the decal. This step is crucial for ensuring that the design adheres properly to the surface.
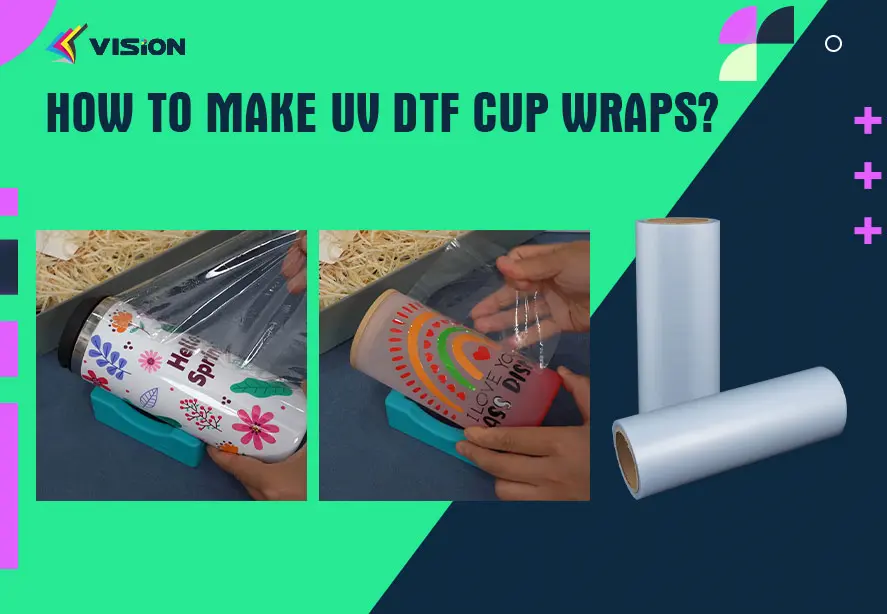
Step 5: Quickly Tear Off the Film B
After applying the design, you’ll need to remove the transfer film.
Peel the Film: Once you’ve securely attached the decal to the surface, quickly tear off the backing film (Film B). You should do this carefully to ensure that only the decal remains on the surface while you remove the rest of the film. Be sure to peel slowly and steadily to prevent any part of the design from lifting off.
How to use UV dtf film diy christmas mug
UV DTF Decals Apply to a Variety of Hard Surfaces
The beauty of UV DTF film is its versatility. Once you apply the decal properly, you can use it on a wide range of hard surfaces, making it perfect for creating custom products such as:
Wood: UV DTF decals are perfect for adding custom graphics to wooden signs, furniture, or other wooden objects.
Metal: You can apply UV DTF decals to metal surfaces like trophies, nameplates, or even promotional items.
Acrylic: UV DTF is also great for decorating acrylic objects, such as keychains, awards, and displays.
Glass: Customize glass items, like mugs or decorative pieces, with a permanent and vibrant design.
Ceramics: UV DTF film can also adhere to ceramics, making it ideal for custom plates, cups, or tiles.
The process ensures that your designs will have a durable finish and will not fade or peel off easily, making UV DTF an excellent option for long-lasting customization.
Making UV DTF decals is a relatively straightforward process with the right equipment and materials. By following the steps above, you can create high-quality, long-lasting decals for a variety of applications.
Related:
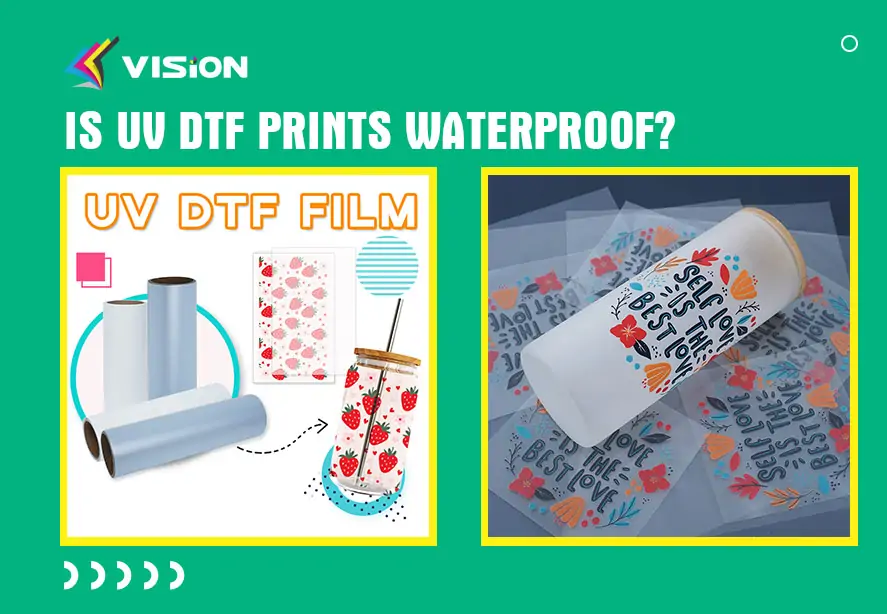
How long does UV DTF Prints last?
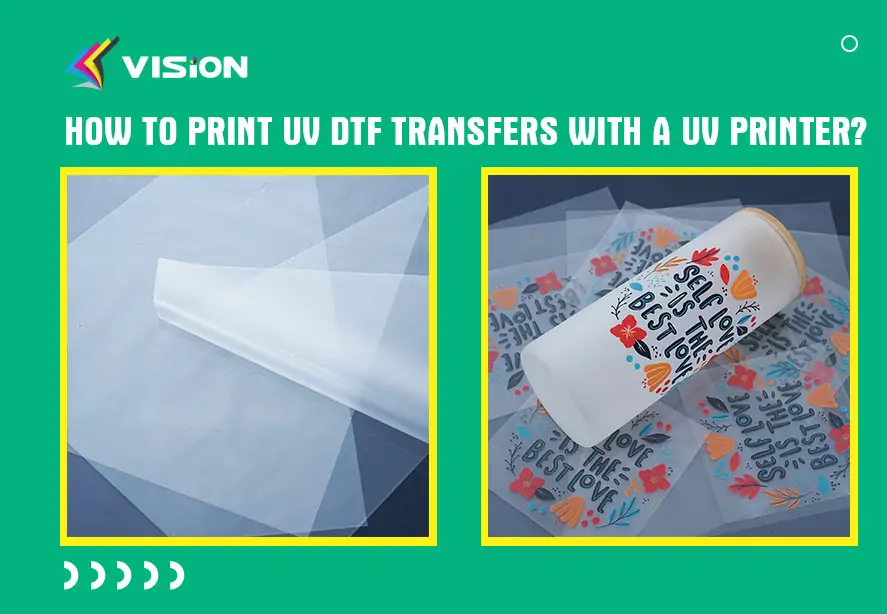
How to print UV DTF transfers with a UV printer?
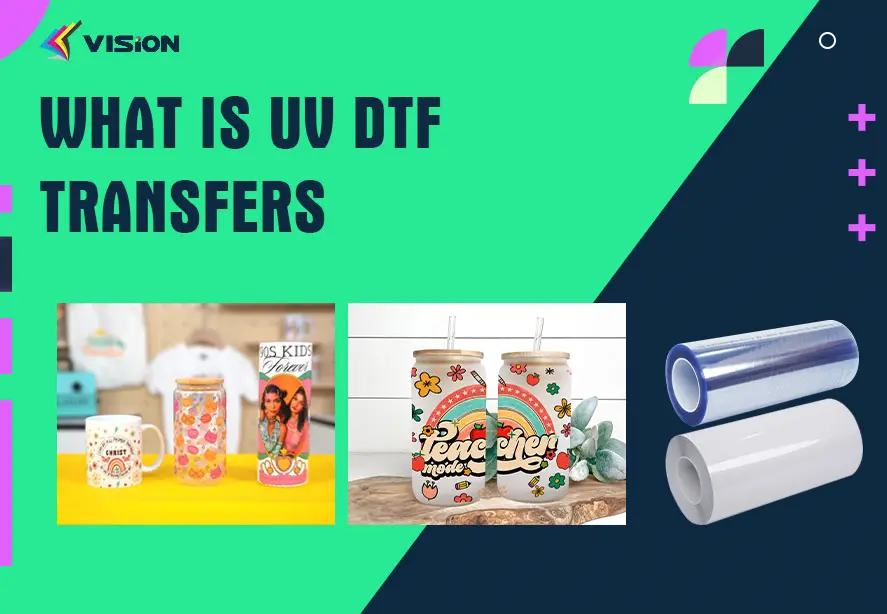
What is uv dtf transfers?
What Are the Advantages of UV DTF?


