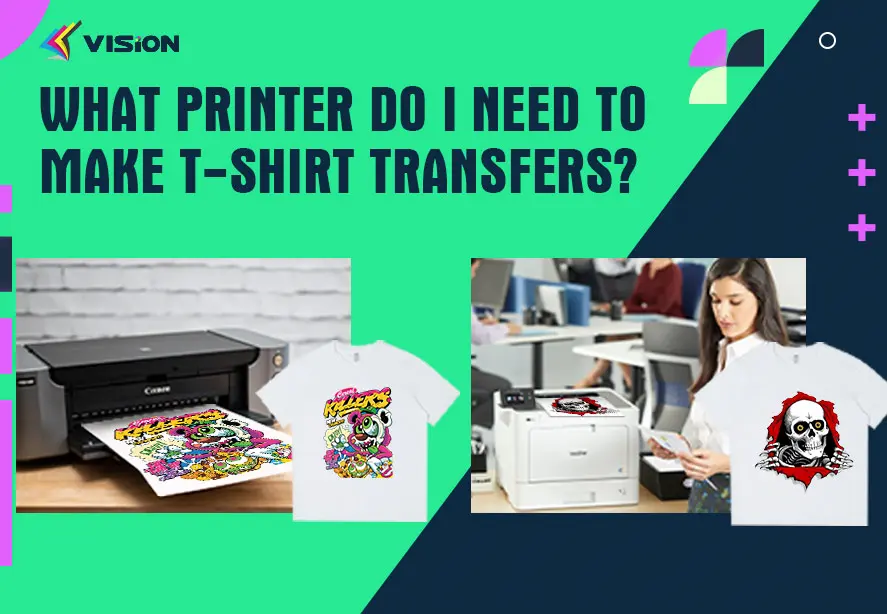
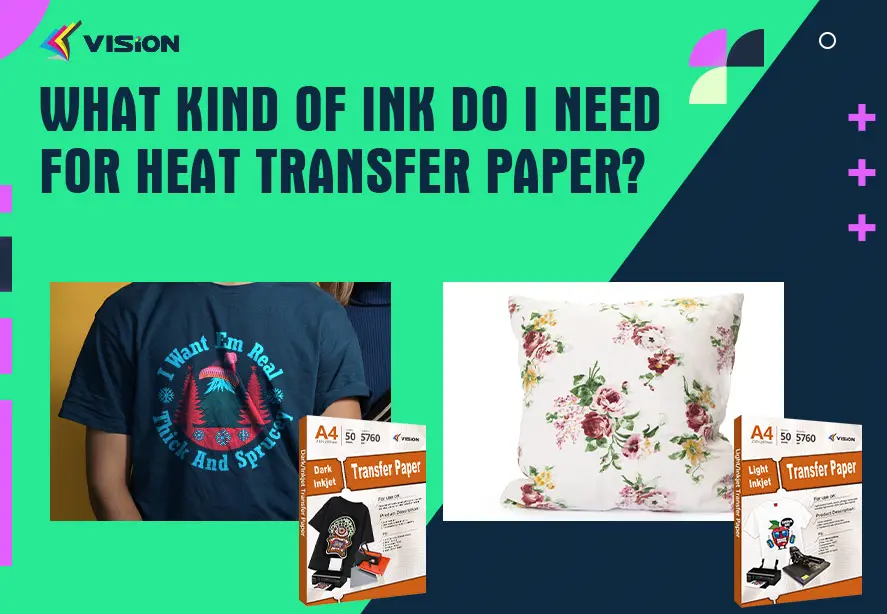
Custom t-shirts with light fabric transfer paper
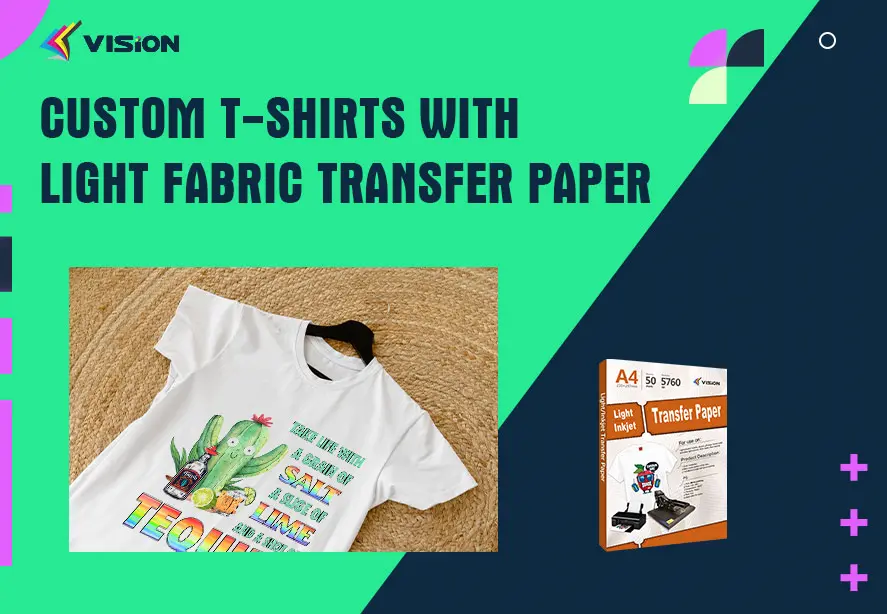
Creating custom t-shirts has become a popular way to express personal style, promote businesses, and commemorate events. One of the most accessible and versatile methods for achieving this is by using light fabric transfer paper. This innovative product allows you to transfer your own designs, photos, or artwork onto light-colored fabrics, resulting in unique and personalized garments. In this comprehensive guide, we’ll explore the process of creating custom t-shirts using light fabric transfer paper, from selecting the right materials to caring for your finished product.
What is Light Fabric Transfer Paper?
Light fabric transfer paper is a specially designed material that allows you to print images or designs using an inkjet printer and then transfer them onto light-colored fabrics. This paper is coated with a heat-sensitive adhesive that, when exposed to heat and pressure, bonds the printed image to the fabric, creating a durable and vibrant print.
Advantages of Using Light Fabric Transfer Paper
There are several benefits to using light fabric transfer paper for creating custom t-shirts:
Versatility: You can transfer a wide range of designs, from simple text to complex images and photographs.
Affordability: Compared to other customization methods, light fabric transfer paper is relatively inexpensive and accessible.
Easy to use: The process is straightforward and doesn’t require specialized equipment beyond a household iron or heat press.
Quick results: You can create a custom t-shirt in a matter of minutes.
Durability: When applied correctly and cared for properly, transfers can last for many washes.

Sweatshirt and Canvas bags
Materials and Equipment Needed
Before you begin your custom t-shirt project, gather the following materials and equipment:
Light-colored t-shirt (100% cotton or cotton blend works best)
Light fabric transfer paper
Inkjet printer
Computer with image editing software
Scissors or craft knife
Iron or heat press
Firm, flat surface (like an ironing board or heat-resistant table)
Teflon Cloth
Designing Your Custom T-Shirt
Choosing the Right Design
When selecting or creating a design for your custom t-shirt, consider the following factors:
Complexity: Simple designs often transfer more cleanly and last longer.
Color: Remember that the transfer paper is designed for light fabrics, so dark or vibrant colors will show up best.
Size: Ensure your design fits within the printable area of the transfer paper and the desired location on the t-shirt.
Preparing Your Design
Create or select your design using image editing software.
Flip or mirror your image horizontally, as it will be reversed when transferred to the t-shirt.
Adjust the size of your design to fit the desired area on the t-shirt.
If your design includes text, make sure it’s large enough to be legible after transfer.
Printing Your Design
Printer Settings
Load the light fabric transfer paper into your inkjet printer according to the manufacturer’s instructions.
Adjust your printer settings for the best quality output. Usually, this means selecting “T-shirt Transfer” or “Iron-On Transfer” in your printer preferences.
Set the paper type to the specific transfer paper you’re using.
Printing Process
Do a test print on regular paper to ensure your design looks correct and is the right size.
Once you’re satisfied with the test print, print your design onto the transfer paper.
Allow the ink to dry completely before handling the printed transfer paper.
Transferring Your Design to the T-Shirt
Preparing the T-Shirt
Pre-wash your t-shirt to remove any sizing or chemicals that might interfere with the transfer process.
Iron the t-shirt to ensure a smooth, wrinkle-free surface for the transfer.
Applying the Transfer
Cut out your design from the transfer paper, leaving a small border around the image.
Place your t-shirt on a firm, flat surface like an ironing board.
Position your design face-down on the t-shirt in the desired location.
Place a teflon cloth over the transfer paper to protect it and the iron.
Heat Application
Set your iron to the highest heat setting without steam.
Press the iron firmly onto the transfer, applying even pressure for the time specified in the transfer paper instructions.
Move the iron slowly and steadily over the entire design, ensuring all areas receive equal heat and pressure.
Cooling and Peeling
Allow the transfer to cool completely before attempting to remove the backing paper.
Once cooled, carefully peel off the backing paper at a 180-degree angle, starting from one corner.
If any areas of the design lift with the backing paper, replace the paper and reapply heat to that area.
How to use vision inkjet light heat transfer paper for cotton tshirt?
Caring for Your Custom T-Shirt
To ensure the longevity of your custom t-shirt, follow these care instructions:
Wait at least 24 hours before washing the t-shirt for the first time.
Turn the t-shirt inside out before washing.
Wash in cold water on a gentle cycle.
Avoid using bleach or harsh detergents.
Air dry or tumble dry on low heat.
Do not iron directly over the transferred design.
Troubleshooting Common Issues
Incomplete Transfer
If parts of your design don’t transfer properly, it may be due to uneven heat distribution. Try reapplying heat to the problem areas, ensuring firm and even pressure.
Cracking or Peeling
To prevent cracking or peeling, avoid stretching the fabric where the design is applied. If you notice any lifting edges, you can try reapplying heat to seal them back down.
Fading
Some fading is normal over time, but to minimize this, always wash your custom t-shirt inside out and avoid excessive heat when drying.
Creating unique custom t-shirts with light fabric transfer paper is an enjoyable and rewarding DIY project. Whether you’re making gifts, promoting a business, or simply indulging in a creative hobby, this method offers endless possibilities for customization.