
Blog
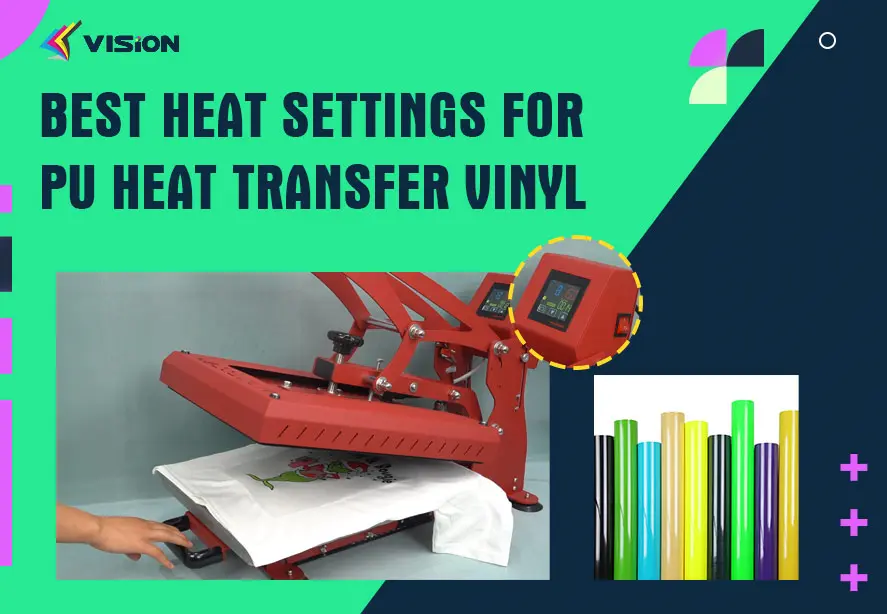
Best Heat Settings for PU Heat Transfer Vinyl
Related Posts
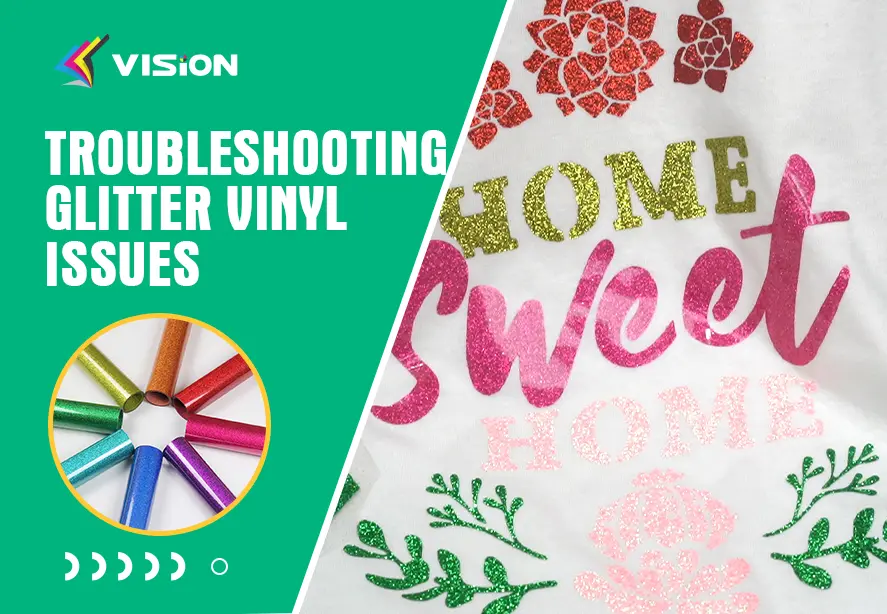
Troubleshooting Glitter Vinyl Issues
Working with glitter vinyl adds sparkle and creativity to custom apparel, crafts, and DIY projects—but it can also present unique chall...
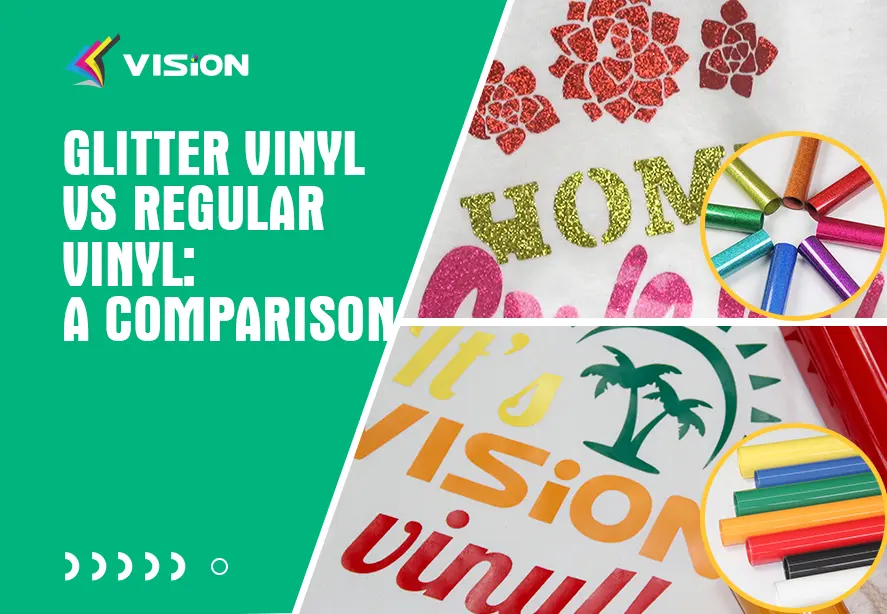
Glitter Vinyl vs Regular Vinyl: A Comparison
When planning custom apparel or craft projects, choosing glitter vinyl vs regular vinyl is a key decision. Both work for heat transfer ...
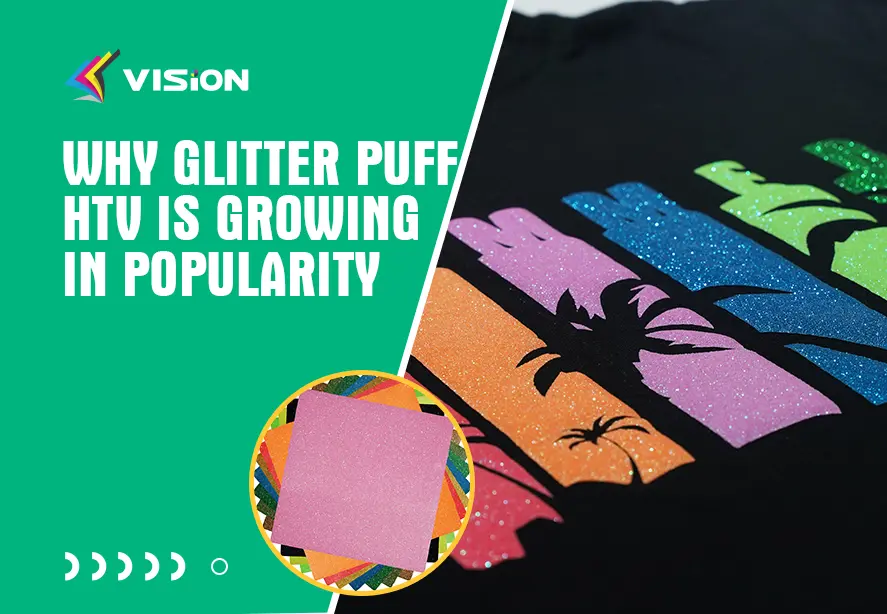
Why Glitter Puff HTV Is Growing in Popularity
Glitter Puff Heat Transfer Vinyl is growing in popularity because it combines visual impact, texture, and creative versatility in a way...
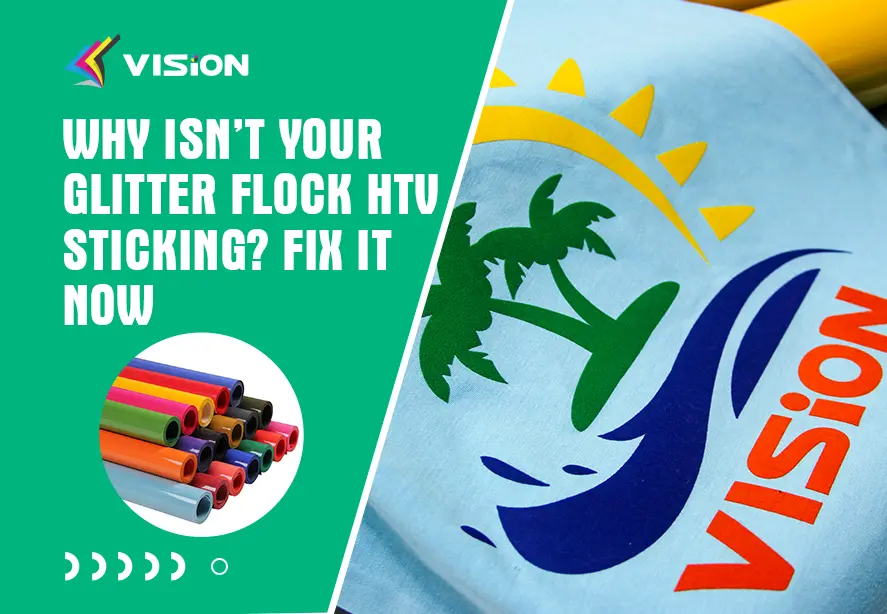
Why Isn’t Your Glitter Flock HTV Sticking? Fix It Now
Glitter flock heat transfer vinyl delivers a luxurious, textured, and sparkling finish, but it also requires precise application condit...
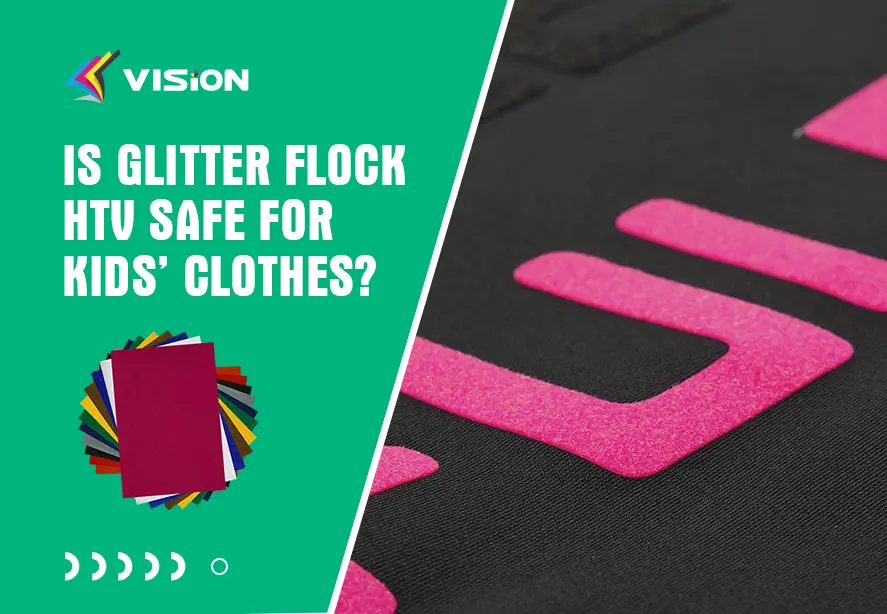
Is Glitter Flock HTV Safe for Kids’ Clothes?
If you’re searching for high-quality glitter flock HTV for kids clothes and wondering whether it’s truly safe, comfortable, and suitabl...

Heat Transfer Vinyl vs Inkjet Transfer Paper: Which Is Best for You
When it comes to custom apparel printing, two of the most widely used methods are heat transfer vinyl and inkjet transfer paper. Each t...

Best Temperature and Pressure Settings for Heat Transfer Vinyl
Heat transfer vinyl gives creators the freedom to design custom shirts, bags, and décor. To achieve flawless results, you need to under...
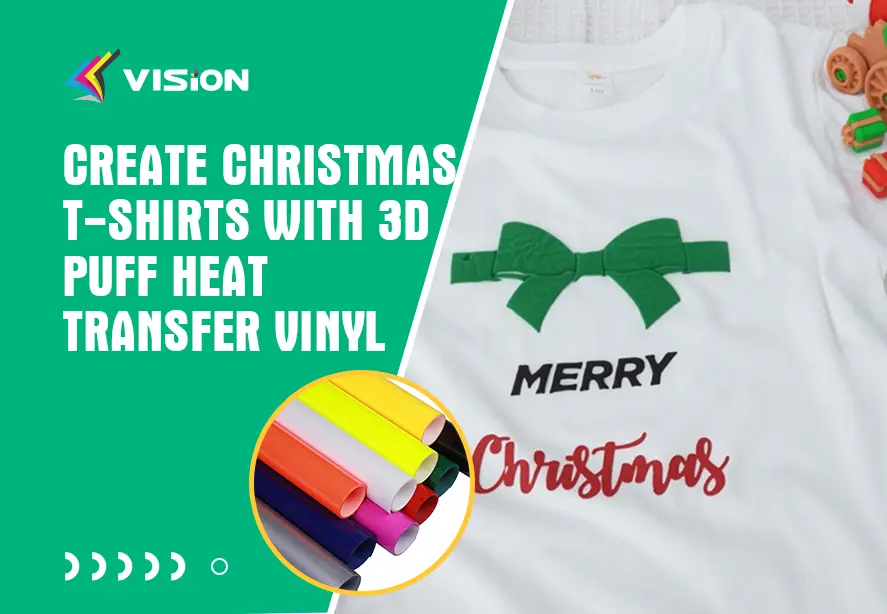
Create Christmas T-Shirts with 3D Puff Heat Transfer Vinyl
The holiday season is the perfect time to get creative—and nothing spreads festive cheer like a custom Christmas T-shirt made with 3D P...
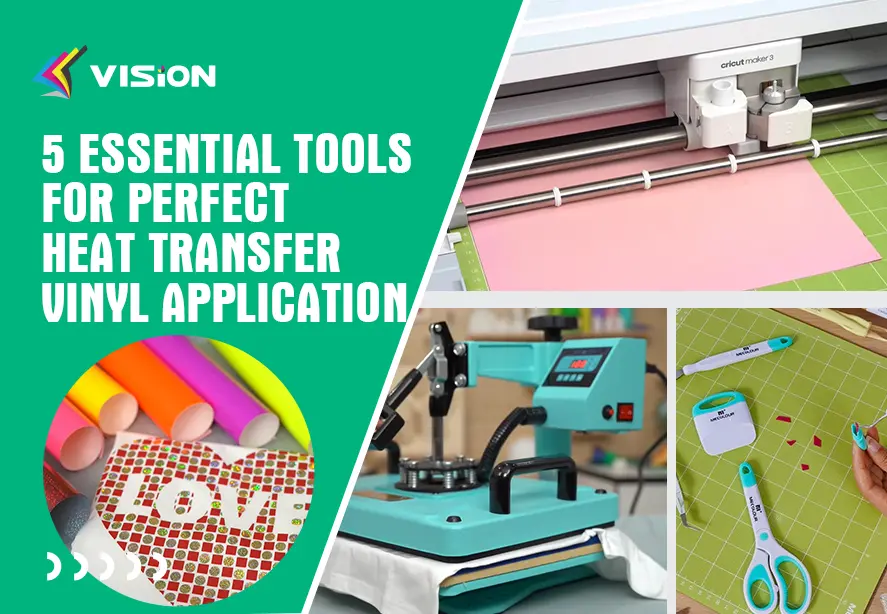
5 Essential Tools for Perfect Heat Transfer Vinyl Application
Applying heat transfer vinyl is both an art and a science. Whether you're personalizing t-shirts, tote bags, or sportswear, achieving f...
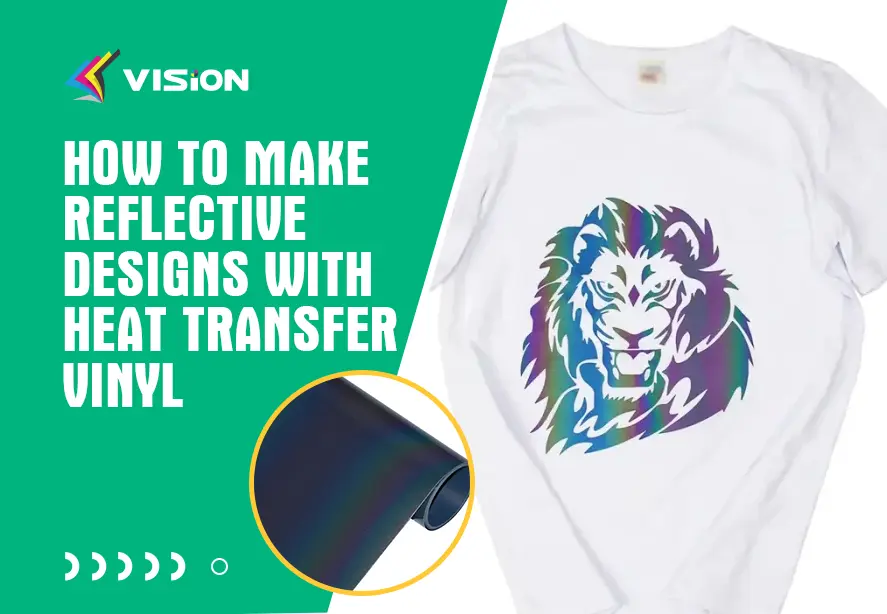
How to Make Reflective Designs with Heat Transfer Vinyl
When it comes to custom apparel, reflective heat transfer vinyl offers both style and functionality. Not only does it give your garment...
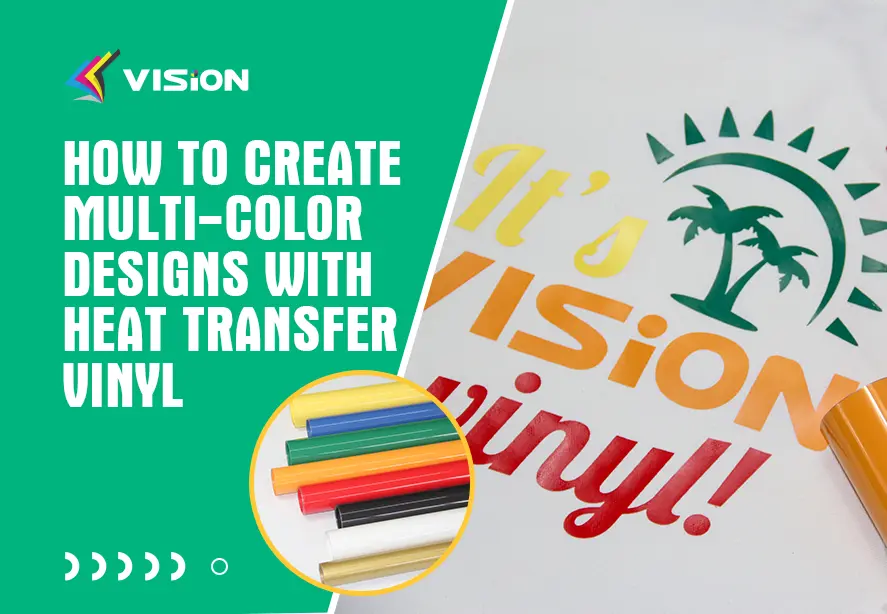
How to Create Multi-Color Designs with Heat Transfer Vinyl
Heat Transfer Vinyl is a versatile and creative way to customize clothing, accessories, and fabric items. While many people start with ...
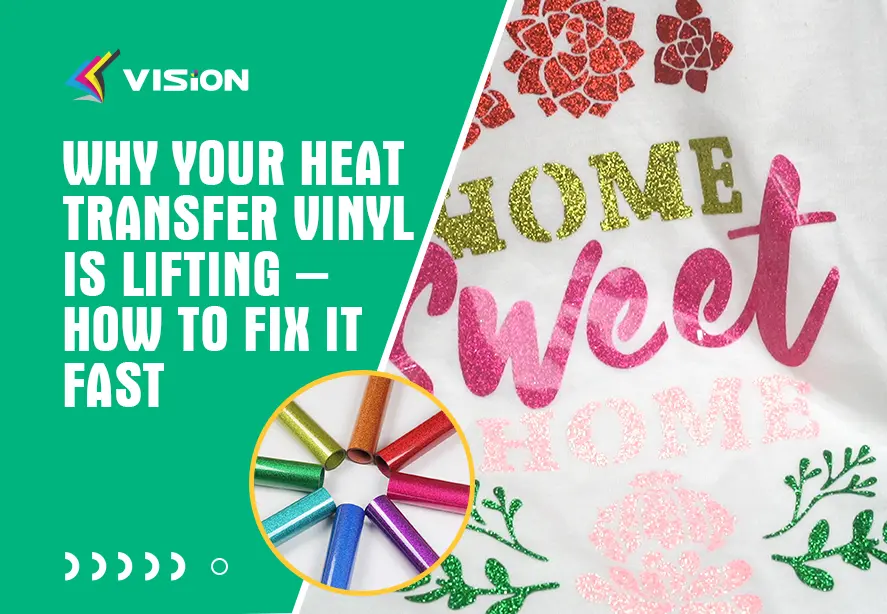
Why Your Heat Transfer Vinyl Is Lifting – How to Fix It Fast
If you've just spent time designing, cutting, weeding, and pressing your vinyl—and it starts lifting at the edges or peeling off after ...

