Blog
Can you use an iron instead of a heat press for Infusible Ink?
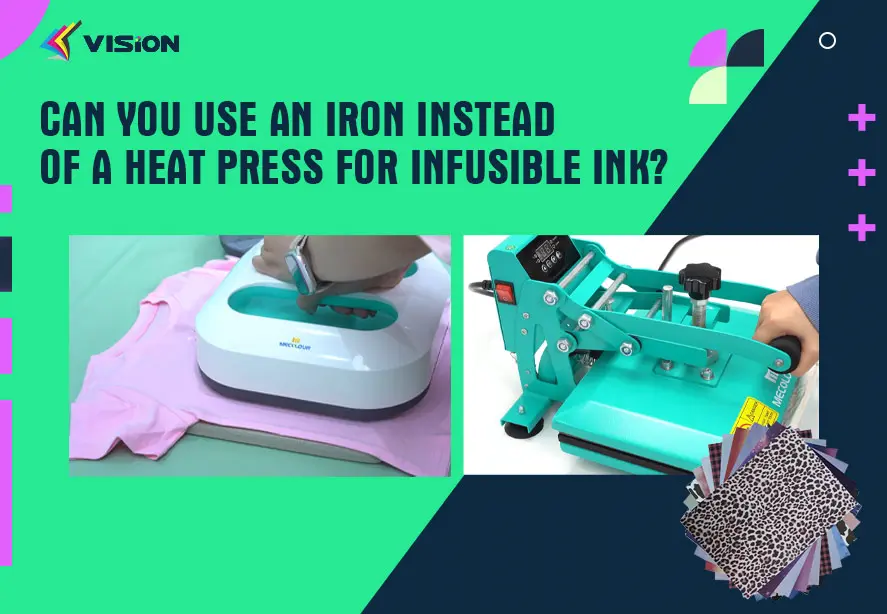
In the world of crafting and personalization, Infusible Ink has emerged as a popular choice for creating vibrant, long-lasting designs. Whether you’re a seasoned DIY enthusiast or just getting started, the question often arises: Can you use an iron instead of a heat press for Infusible Ink? In this article, we will delve deep into this topic, exploring the intricacies of both methods and helping you make an informed decision.
Understanding Infusible Ink
Infusible Ink is a unique ink system designed specifically for use with compatible materials, allowing for seamless transfers. When heated, the ink transforms into a gas and infuses into the substrate, resulting in designs that are not only vibrant but also resistant to fading, peeling, and cracking. This technology is primarily utilized with specific materials like polyester and poly-coated surfaces, making it essential to understand the transfer process.
Heat Press vs. Iron: Key Differences
Temperature Consistency
One of the most significant differences between using a heat press and an iron is temperature consistency. A heat press provides even heat distribution across the entire surface, ensuring that your design adheres properly and uniformly. In contrast, an iron may have hot and cold spots, leading to inconsistent results. This inconsistency can result in parts of your design not transferring correctly, which is crucial for Infusible Ink applications.
Pressure Application
Another critical factor is the pressure applied during the transfer process. A heat press allows for adjustable pressure settings, ensuring optimal contact between the ink and substrate. This is vital for achieving a successful transfer. An iron, however, lacks this feature and requires manual pressure, which may not be uniform across the design. This could potentially lead to uneven results and affect the longevity of your design.
Using an Iron: Pros and Cons
Pros
Accessibility: Almost everyone has an iron at home, making it a convenient option for beginners.
Affordability: Compared to a heat press, an iron is a more budget-friendly option, especially for those who are just starting their crafting journey.
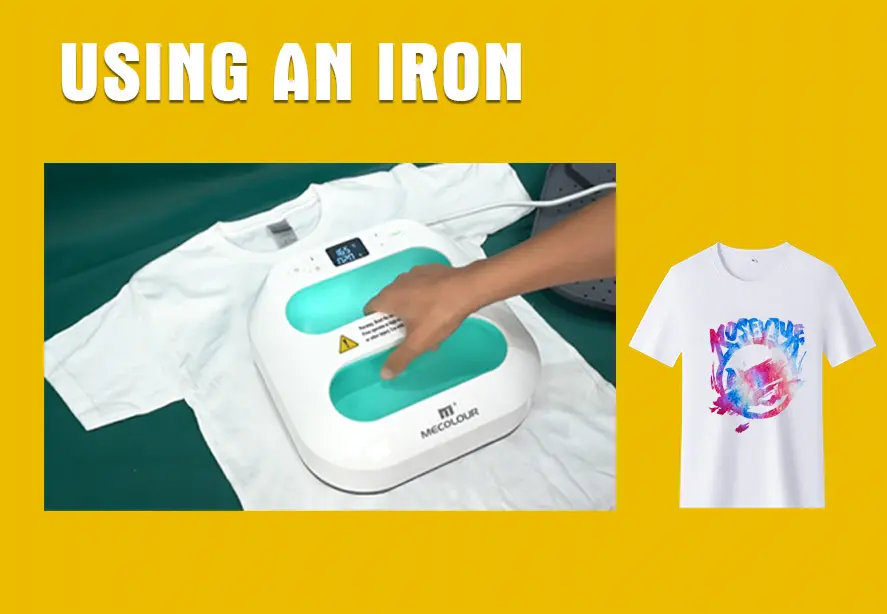
Using an Iron
Cons
Inconsistency: As mentioned earlier, the temperature and pressure inconsistencies can lead to poor transfer quality.
Limited Control: With an iron, you have less control over the transfer settings, which may result in designs that don’t hold up as well over time.
Best Practices for Using an Iron
If you decide to use an iron for your Infusible Ink projects, here are some best practices to follow:
1. Prepare Your Workspace
Ensure that your workspace is clean and free of any debris. A flat, sturdy surface is essential for the best results. Consider using a heat-resistant mat to protect your workspace.
2. Preheat Your Iron
Before beginning your project, preheat your iron to the highest setting (typically cotton or linen). Turn off the steam function, as moisture can interfere with the transfer process.
3. Use a Protective Layer
Place a protective layer between your iron and the design. This can be a piece of parchment paper or a Teflon sheet to prevent direct contact with the ink and avoid any potential scorching.
4. Apply Even Pressure
When using your iron, apply even pressure across the entire design. Move the iron in circular motions to ensure all areas receive consistent heat. Pay particular attention to the edges of the design, as these are often the most susceptible to incomplete transfers.
5. Timing is Key
Follow the recommended time for pressing the design. Typically, you should apply heat for about 40 to 60 seconds, but this can vary depending on the specific material and design.
6. Allow to Cool Before Removing
After pressing, allow the design to cool completely before removing the protective layer. This will help ensure that the ink has properly set into the substrate.
When to Use a Heat Press
For those serious about their crafting or looking for professional-grade results, investing in a heat press is advisable. The benefits of using a heat press include:

Using heat press
1. Professional Quality
A heat press guarantees professional results with vibrant, lasting designs. The precise temperature control and adjustable pressure settings make it ideal for Infusible Ink applications.
2. Time Efficiency
Heat presses often have quicker heating times and larger surfaces, allowing you to transfer multiple designs in less time. This efficiency is invaluable for larger projects or when working with multiple items.
3. Versatility
Heat presses can be used for a variety of projects beyond Infusible Ink, making them a versatile addition to any crafter’s toolkit. From vinyl to sublimation, a heat press expands your creative possibilities.
Which Is Best for You?
Ultimately, the decision between using an iron or a heat press for Infusible Ink transfers depends on your crafting needs and goals. If you’re a casual crafter looking to experiment, an iron may suffice for smaller projects. However, for those seeking high-quality, durable results, a heat press is the superior choice.
Investing in a heat press not only enhances your results but also broadens your creative horizons. Whichever method you choose, understanding the key differences and best practices will ensure your Infusible Ink projects are a success.
Related:
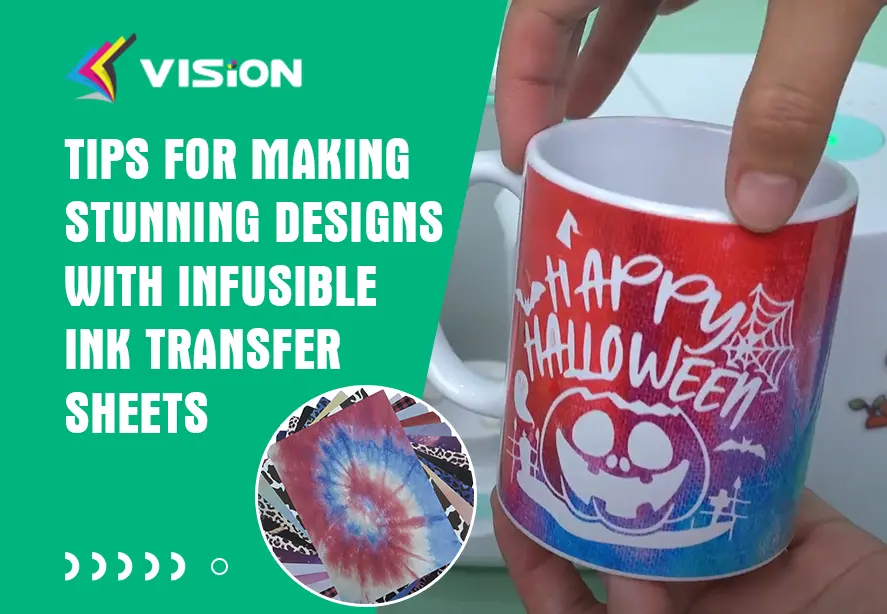
The Ultimate Guide to Infusible Ink Transfer Sheets
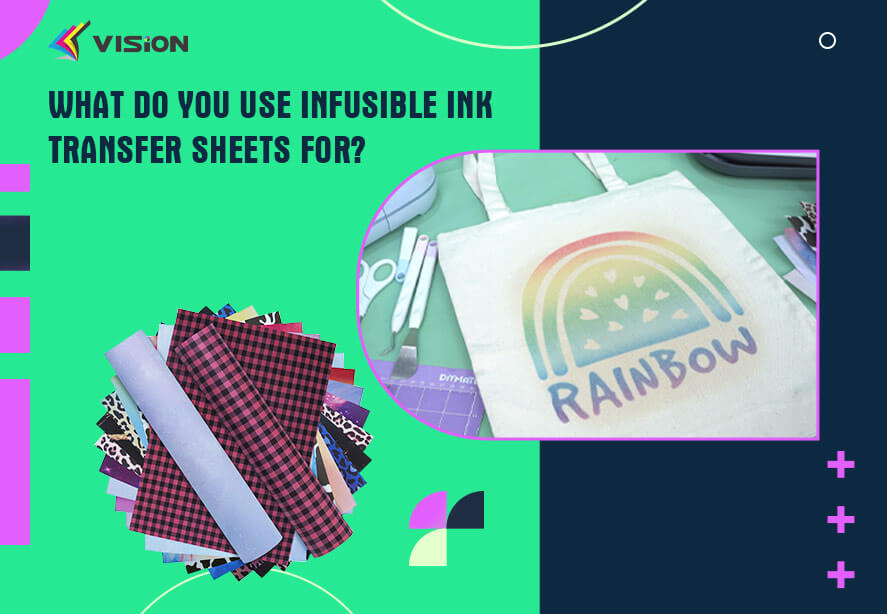
What do you use Infusible Ink Transfer Sheets for?