Unleash Your Creativity: Transfer Paper Tips

Unleashing your creativity has never been easier, thanks to the wonders of transfer paper. This ingenious medium enables you to transfer images onto various surfaces, opening up a world of artistic possibilities. Whether you’re interested in designing custom clothing, decorating your living space, or crafting unique gifts, transfer paper is your artistic accomplice.
Understanding Transfer Paper
Transfer paper, also known as iron-on paper or heat transfer paper, is a specially coated sheet that acts as an intermediary between an image and a surface. It allows you to print an image on one side and then transfer it onto a different material using heat and pressure. This process results in a vibrant and detailed reproduction of the original image.
Types of Transfer Paper
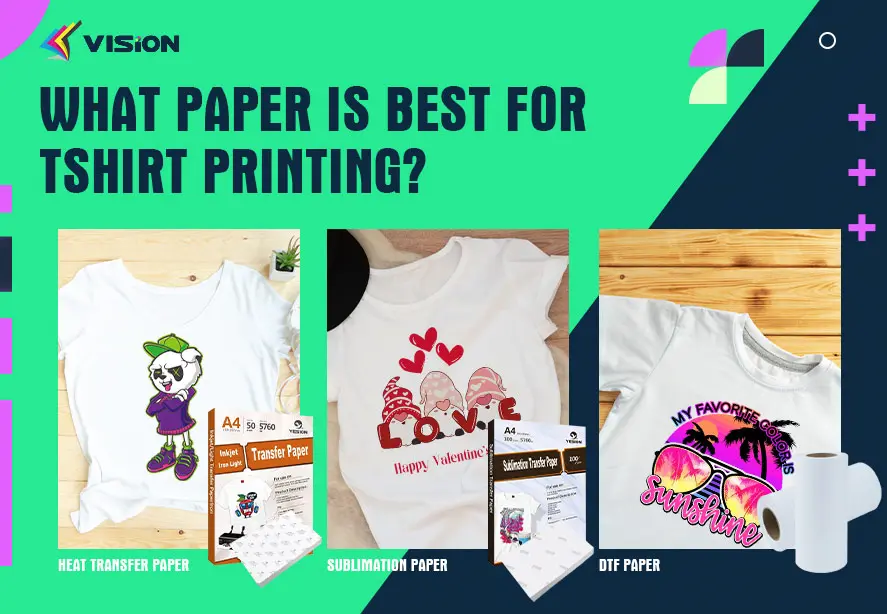
Light vs. Dark Transfer Paper
When it comes to transfer paper, one size doesn’t fit all. Light transfer paper is designed for use on light-colored fabrics and surfaces, while dark transfer paper is intended for darker backgrounds. Using the appropriate type of transfer paper ensures that your image appears crisp and true to its original colors.
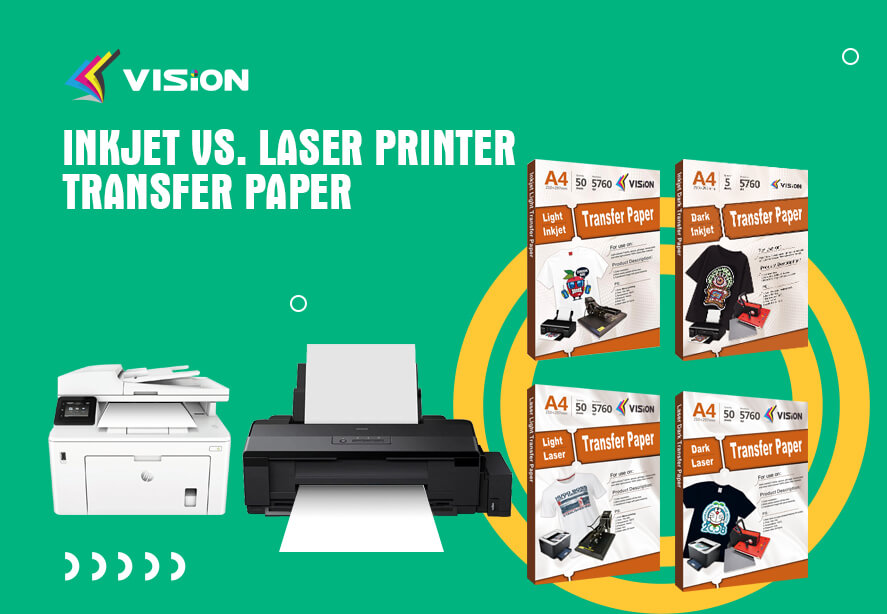
Inkjet vs. Laser Printer Transfer Paper
Transfer paper is compatible with both inkjet and laser printers. Inkjet transfer paper is suitable for use with standard inkjet printers, while laser printer transfer paper is designed for laser printers. Be sure to choose the correct type based on your printer to achieve optimal results.
Related:
Laser Light vs. Dark Fabric Transfer Paper
The 4 Types of Inkjet Transfer Paper for Heat Press
Fabric Transfer Paper
Fabric transfer paper is specifically formulated for use on fabric and textiles. It allows you to create custom designs on clothing, tote bags, and other fabric items. Fabric transfer paper offers a soft and flexible finish, making it ideal for wearable creations.
How to use transfer paper to fabric?
Choosing the Right Image
Image Quality and Resolution
For impressive transfer results, start with a high-resolution image. Higher resolution ensures that fine details are preserved during the transfer process, resulting in a professional-looking outcome.
Mirroring the Image
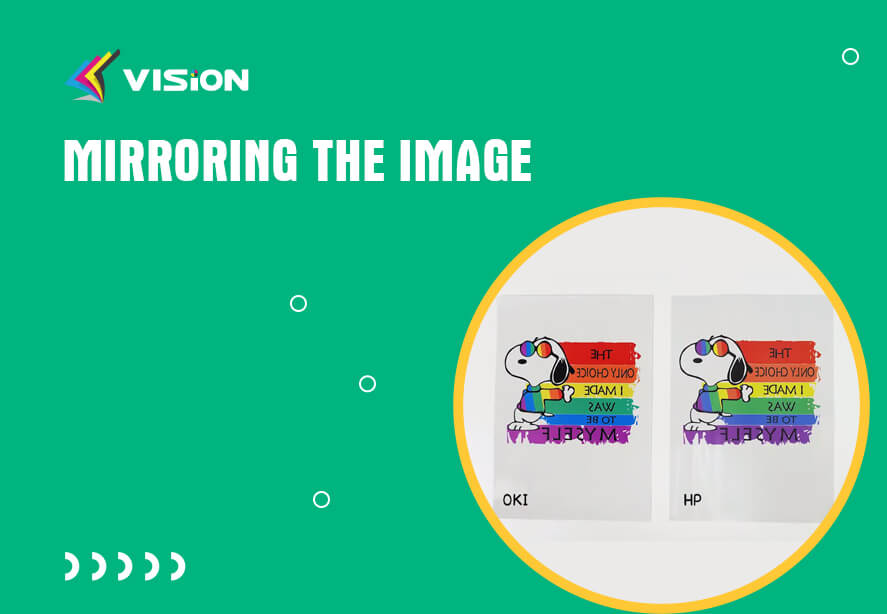
Mirroring the Image
When using light transfer paper, the image must be mirrored before printing. This is because the transfer process reverses the image, and mirroring prevents the final design from appearing backward on the surface. But If you choose dark transfer paper, or VISION upgrade 2.0 inkjet light transfer paper, mirror printing is not required.
Upgraded 2.0 Vs Basic Inkjet Light Transfer Paper
Preparing Your Surface
Fabric Preparation
If you’re working with fabric, it’s essential to prepare the material before transferring the image. Wash and dry the fabric to remove any sizing or chemicals that could interfere with the transfer.
Surface Cleaning
For non-fabric surfaces, ensure that the surface is clean and free from dust and debris. A smooth and clean surface allows for better image transfer and adherence.
Transfer Methods
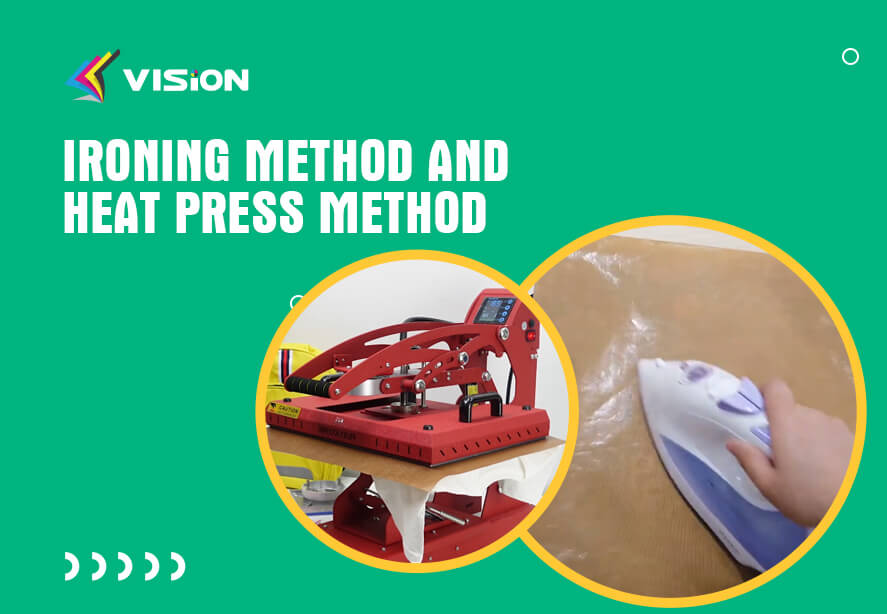
There are two primary methods for transferring images using transfer paper: the ironing method and the heat press method.
Ironing Method
The ironing method is a simple and accessible way to transfer images. It involves using a household iron to apply heat and pressure to the transfer paper, effectively bonding the image to the surface.
Heat Press Method
A heat press offers precise temperature and pressure control, making it a popular choice for professional-quality transfers. This method is especially useful for larger projects or when consistent results are paramount.
Step-by-Step Transfer Process
Instructions for Ironing Method(suitable for light transfer paper)
Print your mirrored image on the transfer paper.
Preheat the iron to the temperature recommended by the transfer paper manufacturer.
Place the transfer paper image-side-down on the surface.
Apply firm and even pressure while moving the iron in a circular motion.
Allow the transfer to cool before carefully peeling off the paper backing.
Instructions for Heat Press Method(suitable for light transfer paper)
Print the mirrored image on the transfer paper.
Preheat the heat press to the recommended temperature.
Position the transfer paper on the surface.
Close the heat press and apply the recommended pressure for the specified time.
Open the press, and once the transfer is cool to the touch, remove the paper backing.
Troubleshooting Common Issues
Image Smudging
Smudging can occur if the image isn’t fully dry before the transfer process. Ensure that the printed image has ample time to dry completely before transferring.
Incomplete Transfers
Incomplete transfers may happen due to insufficient heat or pressure during the transfer process. Double-check the recommended settings for your chosen method and repeat the process if necessary.
Choosing the Wrong Transfer Paper
Using the wrong type of transfer paper for your chosen surface can lead to unsatisfactory results. Always verify that you’re using the appropriate transfer paper for your project.
Innovative Applications
Transfer paper opens the door to a myriad of creative applications.
Custom Apparel Design
Design your own t-shirts, hoodies, and accessories with personalized graphics and artwork.
Home Décor and Crafts
Transform ordinary items like pillows, canvas, and ceramics into unique pieces of art to enhance your living space.
Personalized Gifts
Craft heartfelt gifts by transferring images onto mugs, coasters, and other items that your loved ones will cherish.
Caring for Transfer Paper Creations
Washing and Durability
Follow the care instructions provided with the transfer paper to ensure the longevity of your creations after washing.
Long-Term Maintenance
To extend the life of your transfer paper creations, avoid excessive exposure to direct sunlight and extreme temperatures.
Inspiring Ideas for Your Creations
Typography and Quotes
Create stylish typographic designs featuring your favorite quotes or inspiring words.
Family Portraits
Transfer cherished family photos onto canvas to create timeless wall art.
Vintage Art Reproductions
Turn vintage illustrations and artworks into captivating home decor pieces.
With transfer paper as your artistic ally, you have the power to transform ordinary surfaces into extraordinary works of art. Unleash your creativity, explore various transfer methods, and watch as your imagination comes to life in vibrant and personalized creations.
FAQs
No,generally speaking, Vision transfer paper is suitable for above 65% cotton or polyester cotton blend fabric.
The heat press method often provides more consistent and durable results, especially for larger projects or professional applications.
Yes, transfer paper can be used on a variety of surfaces, including wood, ceramics, and certain plastics. Before you use transfer paper, please follow the manufacturer’s instructions you purchased.
Once the transfer paper has been applied, repositioning it is challenging and may result in image distortion. It’s best to apply the paper carefully in the desired position.
When cared for properly, transfer paper designs can maintain their vibrancy and quality over time. Follow the recommended washing and maintenance instructions for the best results.


