A Comprehensive Guide to Iron-on Paper for Shirts

Iron-on paper for shirts is a versatile and accessible method for creating personalized designs on fabric. Whether you’re a business owner looking to promote your brand or an individual wanting to express your creativity, iron-on paper offers a simple and convenient solution.
With the availability of both light and dark iron-on paper, you can achieve stunning results on various colored fabrics. In this guide, we will explore the differences between light and dark iron-on paper and provide you with essential tips and techniques for using each type effectively. Let’s dive in and unlock the secrets to successful iron-on transfers!
Understanding Light and Dark Iron-on Paper
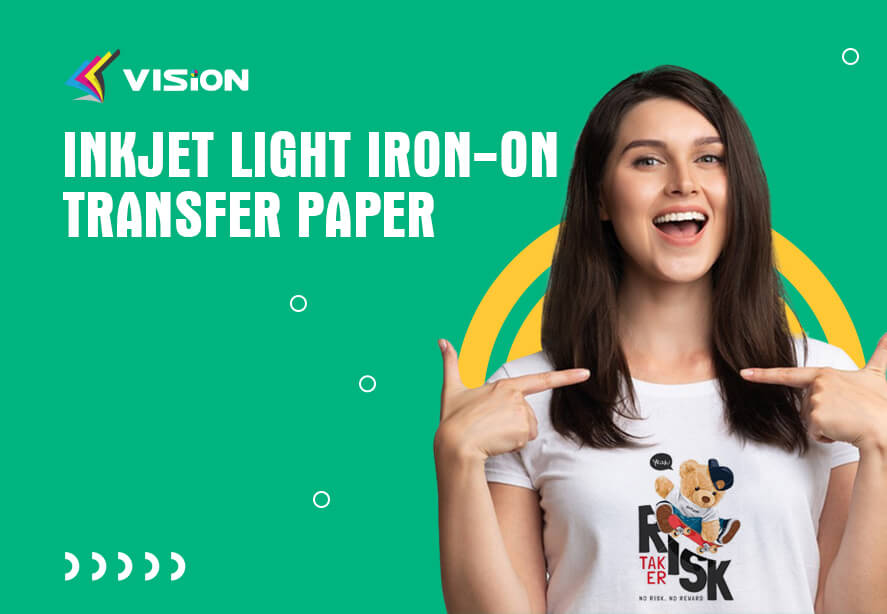
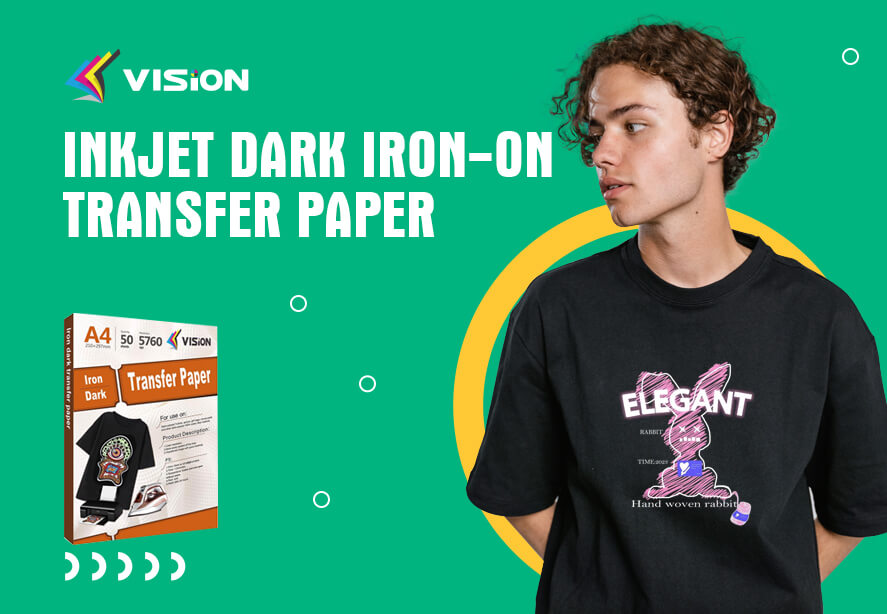
Iron-on paper is specifically designed to transfer printed designs onto fabrics using heat. Light iron-on paper is suitable for light-colored fabrics, while dark iron-on paper is optimized for dark-colored fabrics. The key difference lies in the fabric color of the transfer, ensuring optimal visibility and vibrancy on the intended fabric.
Choosing the Right Iron-on Paper for Your Project
Consider the color of the fabric you plan to use before selecting the appropriate iron-on paper. Light iron-on paper is white, allowing the fabric color to show through the design. On the other hand, dark iron-on paper has a white background, ensuring the design stands out vividly on darker fabrics. Choose the paper that complements your fabric color and desired aesthetic.
How to use iron-on Paper for shirts?
Preparing Your Shirt
Before applying the iron-on transfer, it is crucial to prepare your shirt properly. Wash and dry it to remove any dirt, oils, or sizing agents that may interfere with the transfer process. Ensure the shirt is wrinkle-free and lay it on a clean, flat surface for easy application.
Designing and Printing
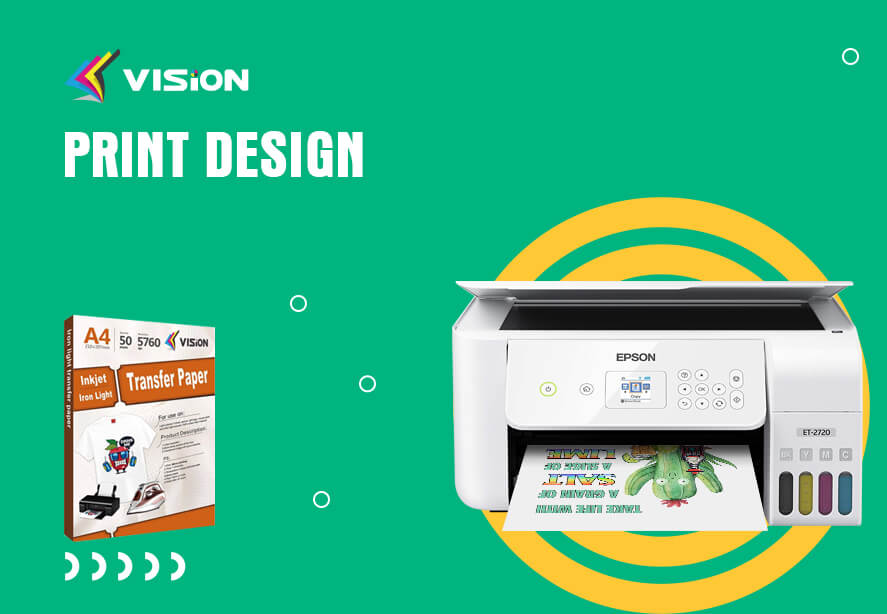
Create your design using graphic design software or online tools. Iron-on Light color transfer paper needs to be mirrored before printing, while iron-on dark color transfer paper does not need. So if you use light transfer paper,please mirror the image horizontally before printing, as this ensures it appears correctly when transferred onto the fabric. Test print the design on regular paper to verify colors and layout. Once satisfied, print the final design onto the appropriate iron-on paper following the manufacturer’s instructions.
Applying the Iron-on Transfer
For light iron-on paper, place the printed transfer face down onto the fabric and align it as desired. Apply heat and pressure using an iron, moving it in a circular motion. Follow the specific temperature and time guidelines provided by the iron-on paper manufacturer. Once the transfer is complete, allow it to cool before gently peeling off the backing paper.
For dark iron-on paper, the process is slightly different. After printing the design, trim any excess white space around the design. Place the transfer face up onto the fabric, ensuring the white background covers the entire design area. Apply heat and pressure with an iron, again following the manufacturer’s instructions. Allow the transfer to cool before removing the backing paper.
Caring for Your Iron-on Shirt
To preserve the longevity of your iron-on design, it is essential to follow proper care instructions. For both light and dark transfers, machine wash the shirt inside out with cold water and a gentle cycle. Avoid using harsh detergents or bleach, as they may damage the design. Avoid dry cleaning the shirt and, if necessary, iron inside out or use a thin cloth between the iron and the design.
More post about iron on transfer paper:
What kind of transfer paper can use for iron on t shirt transfers?
Can you use Vision Iron on Transfer Paper to transfer your t-shirt?
How to use iron on transfer paper on dark fabric?
How do you print T shirts at home with Iron On heat transfer paper


