10 Tips for Using Iron On Paper Like a Pro
Iron-on paper is an incredibly popular tool for personalizing apparel, accessories, and home décor. Whether you’re a seasoned DIY enthusiast or a beginner, mastering the art of using iron-on transfer paper can elevate your projects and help you achieve professional-looking results. To get the best outcome from your iron-on paper, here are 10 tips for using iron-on paper like a pro.
10 tips for using iron-on paper
1. Choose the Right Type of Iron-On Paper
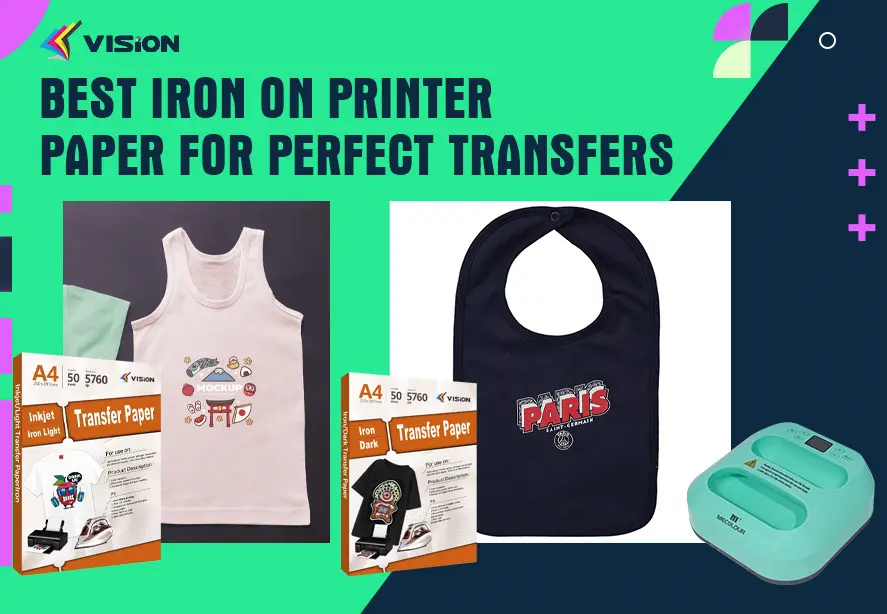
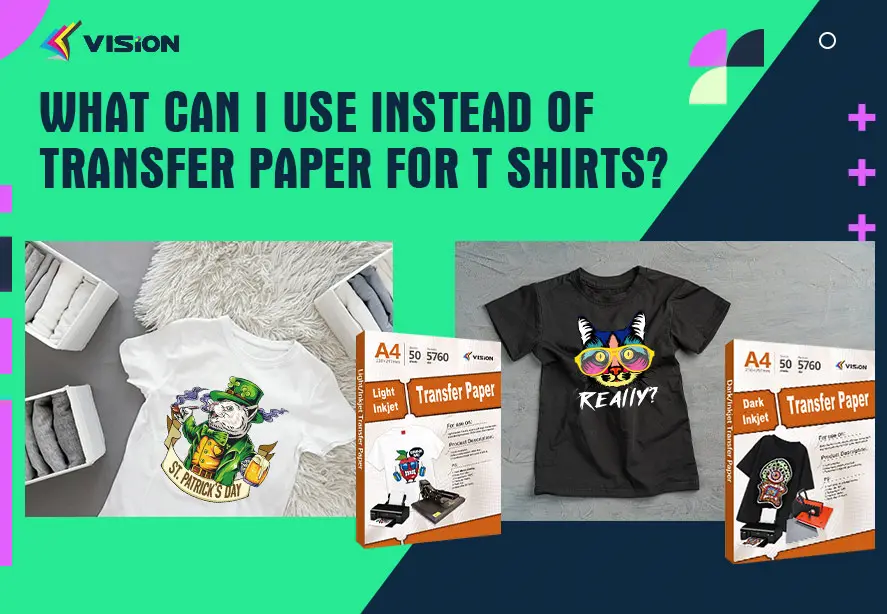
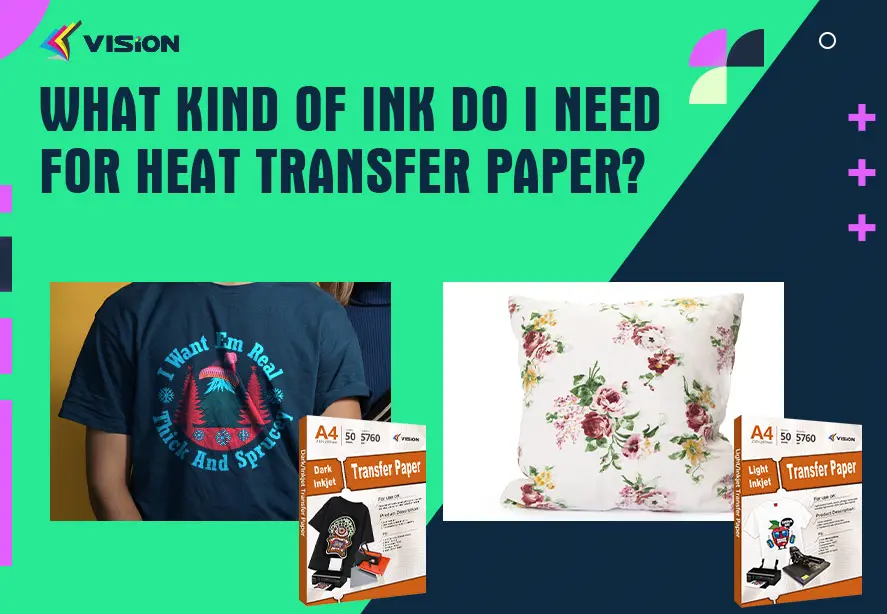
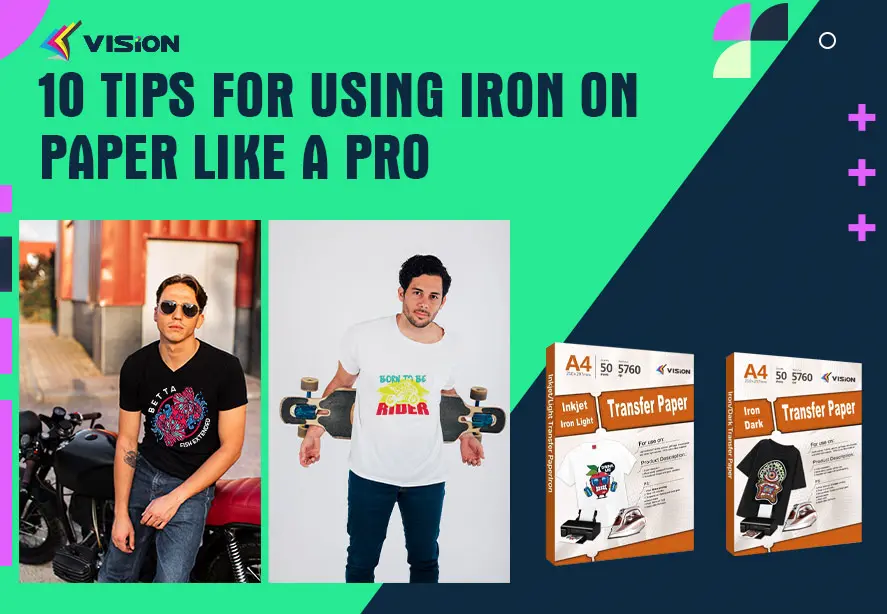
The first step in getting professional results with iron-on paper is choosing the right type for your fabric. There are two main types:
Iron on transfer paper for light fabric: Ideal for white or light-colored fabrics.
Iron on transfer paper for dark fabric: Perfect for dark-colored fabrics, as it has an opaque backing to ensure your design stands out.
Make sure you’re using the appropriate transfer paper for your project to avoid any issues during the transfer process.
2. Print the Design in Reverse
One of the most crucial tips when using light iron-on transfer paper is to print your design in reverse (mirror image). This is especially important when working with text or images that have a specific orientation.
Why? Printing in reverse ensures that the design appears correctly once transferred onto the fabric.
Most design software, including Adobe Illustrator and CorelDRAW, has a simple option to flip your design horizontally. If you’re using Microsoft Word or another basic program, check the “Flip Horizontal” option in the print settings.
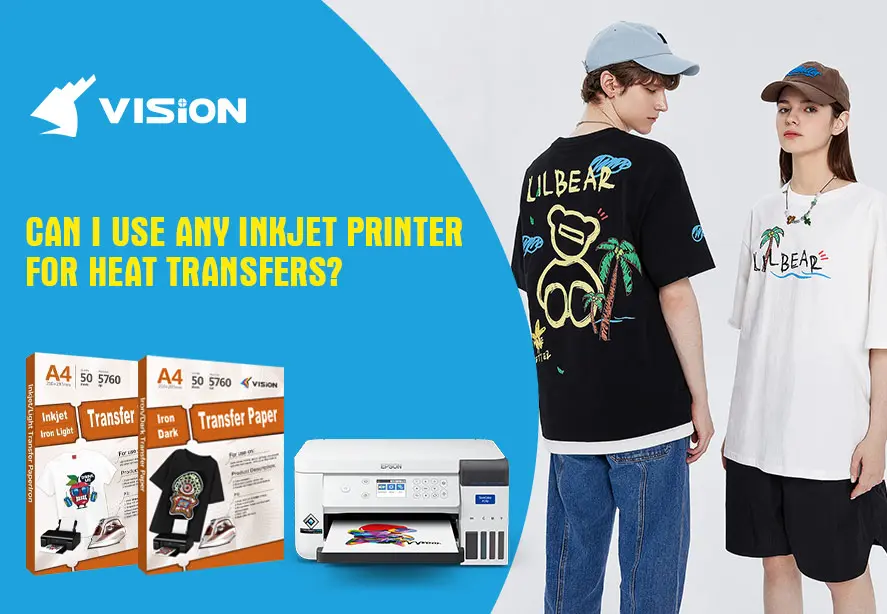
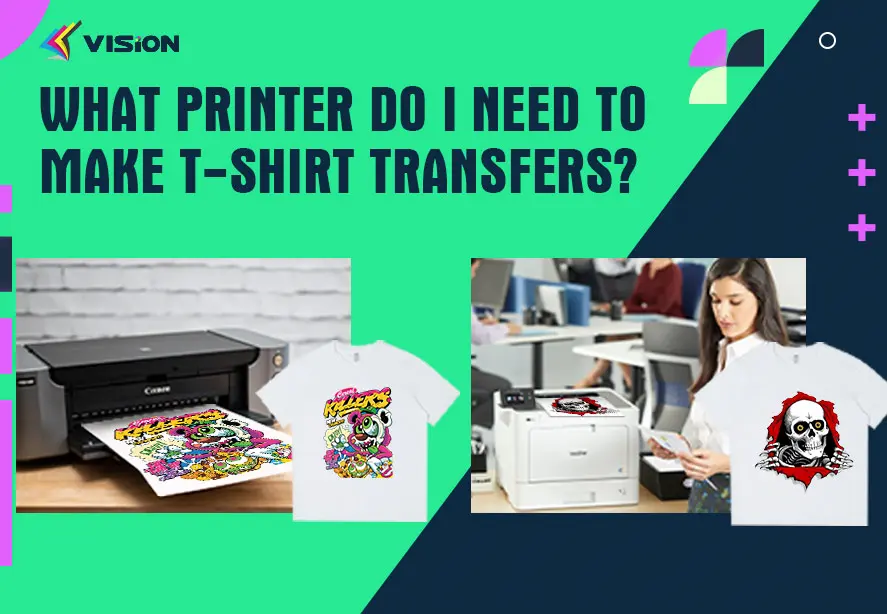
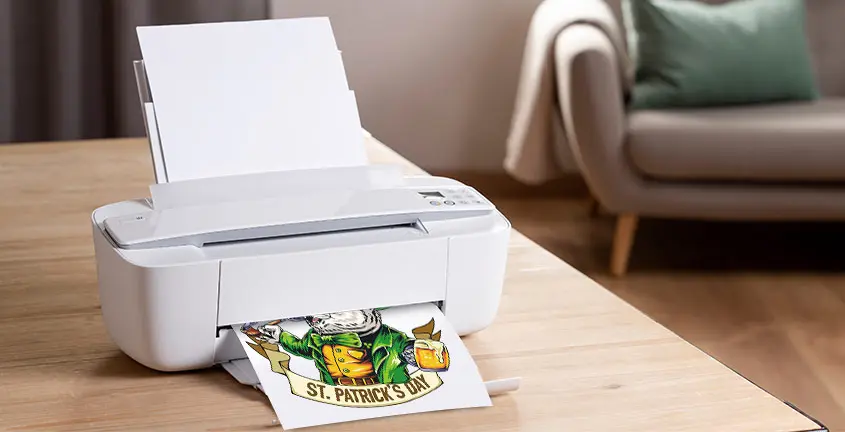
3. Use the Right Printer
The type of printer you use significantly affects the quality of your iron-on transfer paper prints. Inkjet printers are the best option, as they offer high-quality color output, which is crucial for vibrant designs.
print iron-on paper
4. Set the Correct Temperature on Your Iron
To ensure a perfect transfer, it’s essential to set your iron to the right temperature. Here are some general guidelines:
Light Fabrics: Use a medium to high setting without steam.
Dark Fabrics: Use a high setting, but make sure to turn off the steam function.
Fabric Type: Different fabrics may require different heat settings. Always check the fabric care instructions if you’re unsure.
Test on a small piece of fabric before committing to your design to avoid any overheating or burning.
5. Preheat the Fabric
Before you apply the iron-on transfer, it’s important to preheat your fabric for about 3-5 seconds. This step:
Removes any moisture or wrinkles from the fabric.
Ensures that the transfer adheres smoothly and evenly.
Make sure to keep the iron moving to prevent scorching any areas of your fabric.
6. Apply Even Pressure
When using the iron press machine on the iron-on paper, it’s crucial to apply even pressure across the design. Uneven pressure can lead to spots where the transfer paper doesn’t adhere properly, leading to an incomplete or uneven design.
7. Use a Heat Press for Best Results (If Possible)
While a regular home iron can get the job done, a heat press machine offers more control and precision, especially for larger or more detailed designs. Heat presses provide consistent heat and pressure, which can reduce the risk of burning the fabric or uneven transfer.
Bonus: Heat presses are ideal for bulk printing if you have multiple items to personalize.
8. Peel the Paper at the Right Time
The timing for peeling off the transfer paper is crucial. If you peel too soon, the design might smudge or lift off the fabric. Conversely, peeling too late can cause the paper to become too hard to remove.
Tip: Follow the manufacturer’s instructions on whether to peel the paper while hot or after it cools completely. Many iron-on papers recommend allowing the transfer to cool slightly before peeling.
9. Let the Design Cool Down Before Handling
Once you’ve completed the transfer, allow the fabric to cool before touching or wearing it. Handling the fabric too soon can damage the transfer or cause it to peel off.
Tip: Allowing the design to set properly will also help with its longevity.
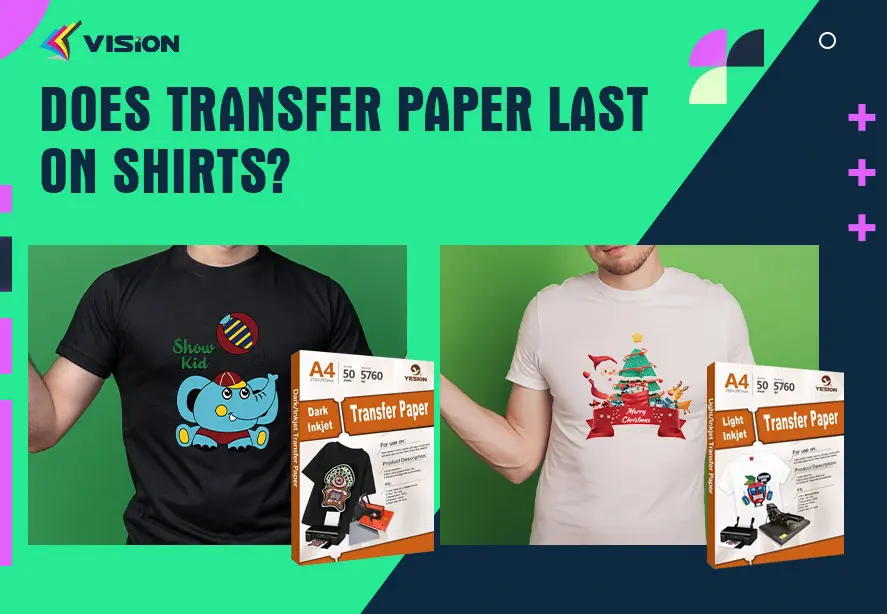
10. Care for Your Iron-On Transfers
To keep your designs looking great for as long as possible, it’s important to care for the fabric properly. Here are a few care tips:
Wash Inside Out: Always wash the fabric inside out to protect the design.
Avoid Fabric Softener: Fabric softeners can degrade the adhesive over time, causing the design to peel.
Air Dry: It’s best to air dry the fabric to preserve the integrity of the design. If you must use a dryer, choose a low-heat setting.
Using iron-on transfer paper can seem like a simple task, but paying attention to the finer details can make a huge difference in the outcome of your projects. By following these 10 tips, you’ll be able to create high-quality, durable designs that look professional and last for a long time.
Whether you’re personalizing T-shirts, bags, or home décor, these tips will help you perfect your technique and get the best results from your iron-on transfer paper.
Related:
The Difference: Iron-On Transfer Paper and Heat Transfer Paper
What kind of transfer paper can use for iron on t shirt transfers
A Comprehensive Guide to Iron-on Paper for Shirts: Light vs Dark Transfers
The Art of Choosing: Best Iron On Transfer Paper for Your Project
Iron On Transfer Paper for inkjet printers: Custom T-shirts